Setup a Kubernetes 1.9.0 Raspberry Pi cluster on Raspbian using Kubeadm
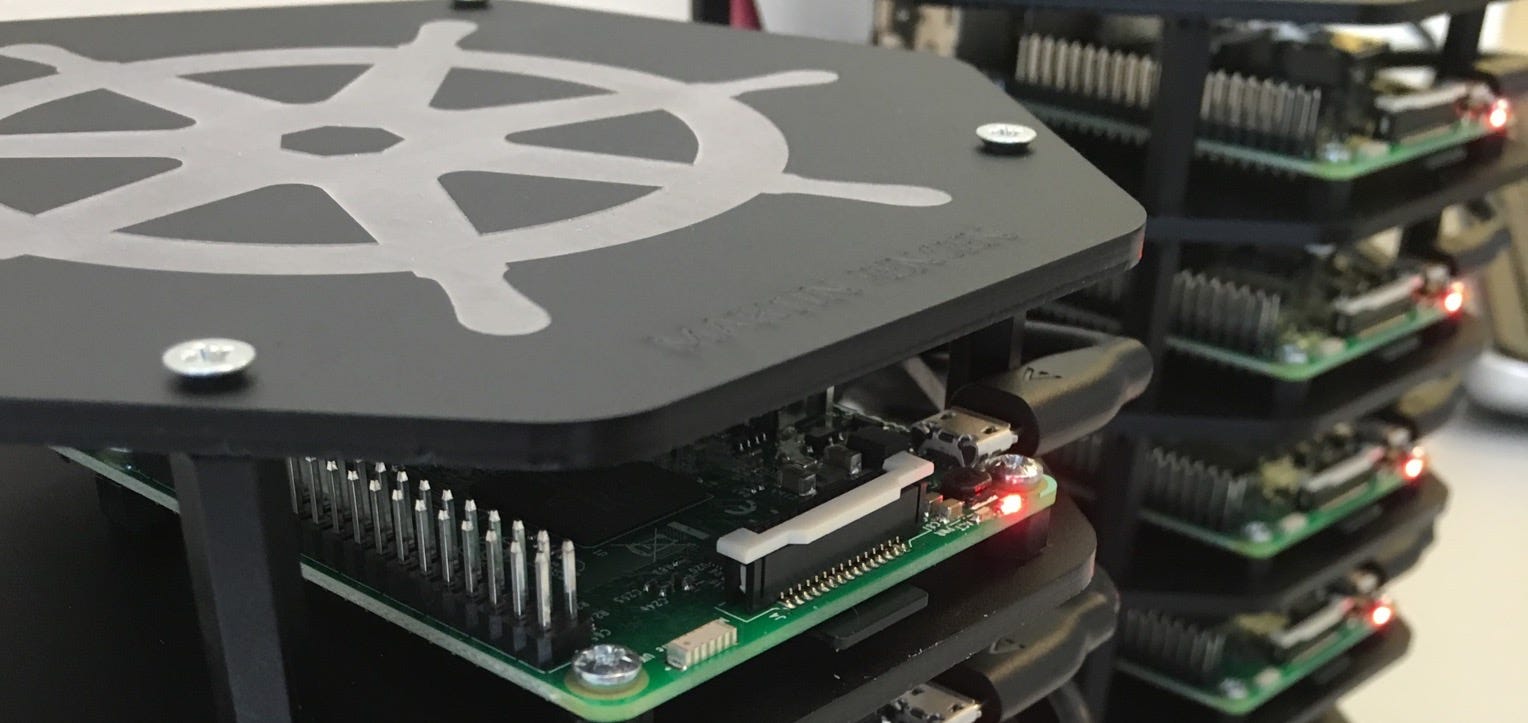
Apparently it’s that time of the year again. Approximately a year ago I published a “state-of-the-art” how to run a Raspberry Pi Kubernetes cluster using HypriotOS and Kubernetes 1.4. Lots of things has happen during the past year, and I thought it was time to play with the Raspberry Pi cluster again. This blog post will guide you through the process of setting up a Raspberry Pi Kubernetes cluster on the latest version of Raspbian, and with the latest version of Kubernetes, which is 1.9.0.
This blog post was inspired by the great work of Docker Captain Alex Ellis.
Let’s get started!
Initial setup of SD-cards and prerequisites
The following section is pretty generic. This flow has to be repeated for every node you want to join your cluster.
Flashing the SD card
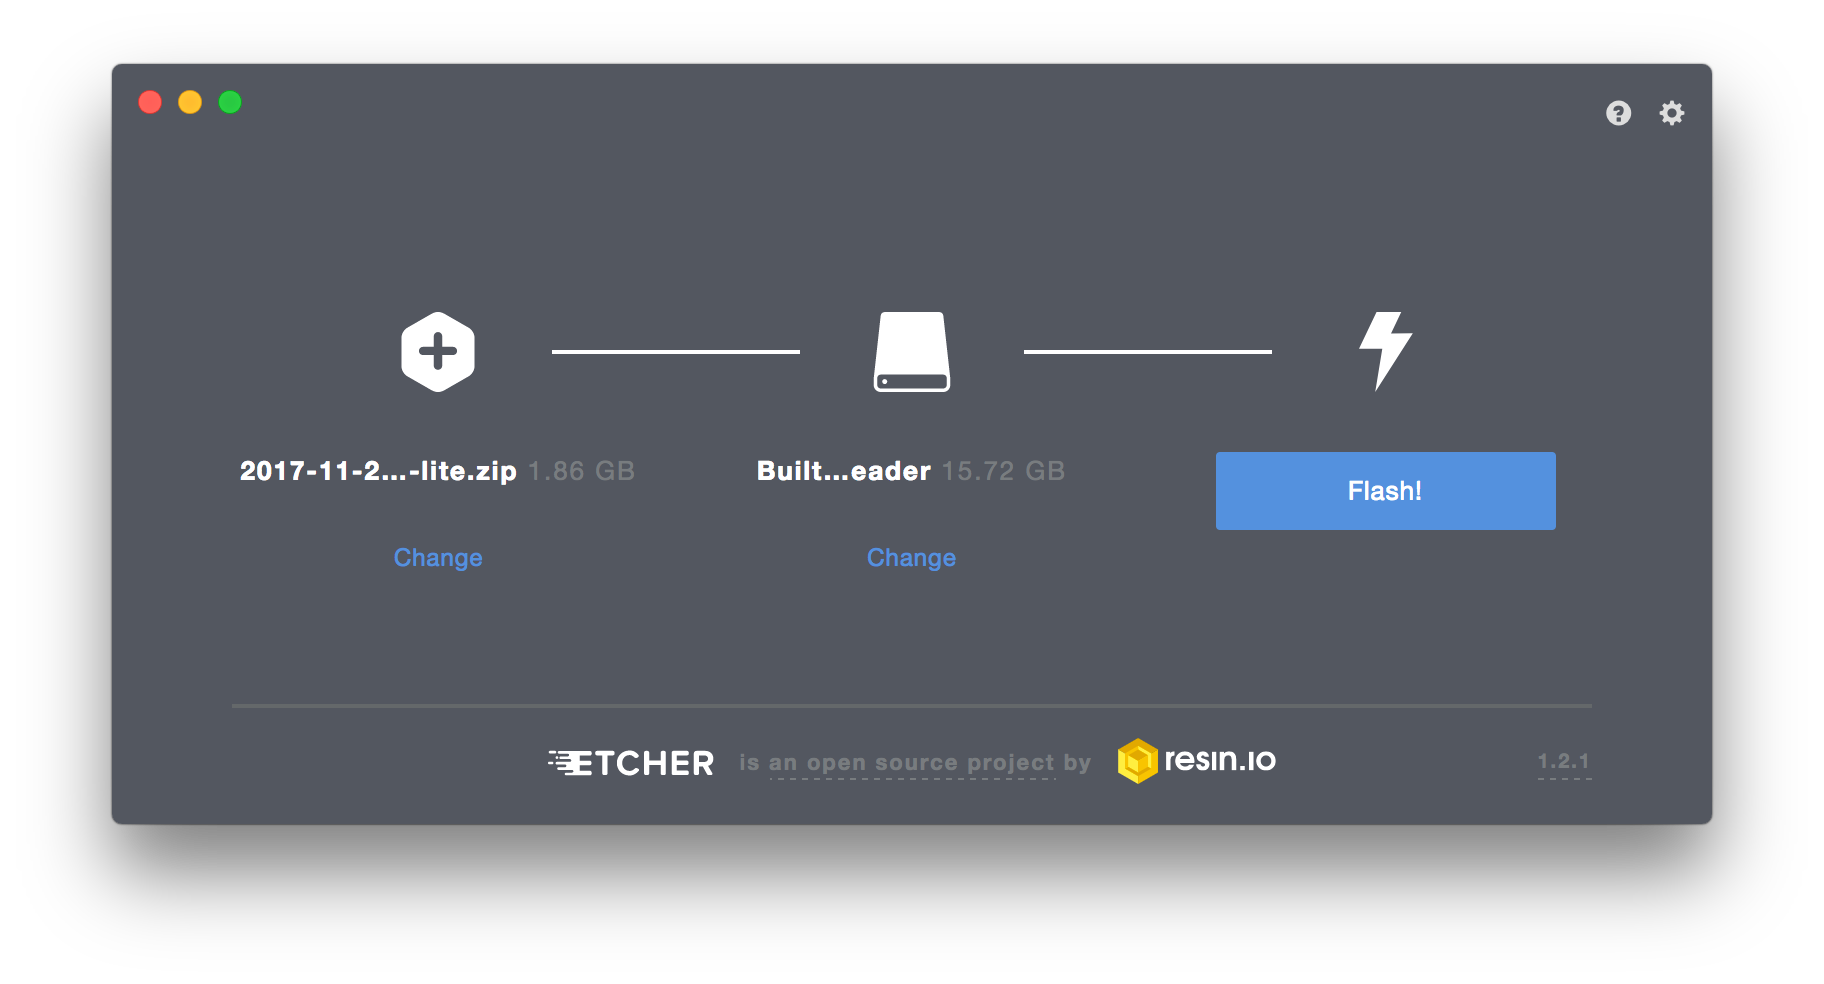
The first thing we need is an image. Grab the latest Raspbian OS here (.zip). I use etcher by Resin.io for flashing the SD-cards. It doesn’t get easier than this.
Just select the .zip file you just downloaded, and insert your SD-card, select the drive, and click “Flash!”. Easy, right?
Once the flashing process is finished, we need to add an empty file to the drive. Therefore, take the SD-card out and insert it again. We are going to create an empty file called ssh. This allow us to SSH into the node once booted.
$ touch /Volumes/boot/sshNow, take out the SD-card and insert it into the Raspberry Pi. Attach network cable and power, and boot up the little machine.
After a minute or so, you should be able to access the Raspberry Pi from the same network.
$ ssh pi@raspberrypi.localDefault raspbian password is: raspberry
Change the hostname and assign a static IP
Next, we will configure the Raspberry Pi, so that it’s easy to identify and access. We will therefore change the hostname, and assign a static IP to the node. In order to make this process a bit easier, I have made a simple script for you.
In order to run it, create a new file on the Pi:
$ nano hostname_and_ip.shCopy the following into the new file
#!/bin/sh

hostname=$1
ip=$2 # should be of format: 192.168.1.100
dns=$3 # should be of format: 192.168.1.1

# Change the hostname
sudo hostnamectl --transient set-hostname $hostname
sudo hostnamectl --static set-hostname $hostname
sudo hostnamectl --pretty set-hostname $hostname
sudo sed -i s/raspberrypi/$hostname/g /etc/hosts

# Set the static ip

sudo cat <<EOT >> /etc/dhcpcd.conf
interface eth0
static ip_address=$ip/24
static routers=$dns
static domain_name_servers=$dns
EOT
And run the script (below is the naming and IP convention used in my setup, you should adapt this to your network setup)
First argument: the new hostname Second argument: the new static IP Third argument: the IP of your Router
master: 192.168.1.100
$ sh hostname_and_ip.sh master 192.168.1.100 192.168.1.1worker-01: 192.168.1.101
$ sh hostname_and_ip.sh worker-01 192.168.1.101 192.168.1.1worker-02: 192.168.1.102
$ sh hostname_and_ip.sh worker-02 192.168.1.102 192.168.1.1worker-03: 192.168.1.103
$ sh hostname_and_ip.sh worker-03 192.168.1.103 192.168.1.1Now, reboot the Pi. You should be able to access the Pi over SSH as follows:
$ ssh pi@master.local (or worker-01.local etc.) Verify that your Pi now also has a new static ip by running ifconfig.
Installing the prerequisites
Now, that node networking and naming is in place, we need to install some software on the Raspberry Pi. First of all we need docker, secondly we need to add the kubernetes repo to the repo list, disable swap memory, and lastly install kubeadm. Again, in order to make this process easy for you as a reader, all of this can be run as a script.
Therefore, create a new file on the Raspberry Pi:
$ nano init.shCopy and insert the following script.
#!/bin/sh

# Install Docker
curl -sSL get.docker.com | sh && \
  sudo usermod pi -aG docker

# Disable Swap
sudo dphys-swapfile swapoff && \
  sudo dphys-swapfile uninstall && \
  sudo update-rc.d dphys-swapfile remove
echo Adding " cgroup_enable=cpuset cgroup_enable=memory" to /boot/cmdline.txt
sudo cp /boot/cmdline.txt /boot/cmdline_backup.txt
# if you encounter problems, try changing cgroup_memory=1 to cgroup_enable=memory.
orig="$(head -n1 /boot/cmdline.txt) cgroup_enable=cpuset cgroup_memory=1"
echo $orig | sudo tee /boot/cmdline.txt

# Add repo list and install kubeadm
curl -s https://packages.cloud.google.com/apt/doc/apt-key.gpg | sudo apt-key add - && \
  echo "deb http://apt.kubernetes.io/ kubernetes-xenial main" | sudo tee /etc/apt/sources.list.d/kubernetes.list && \
  sudo apt-get update -q && \
  sudo apt-get install -qy kubeadm
I experienced some issues with a change in the kernel related to cgroups_memory. The current solution is reflected in the script above. However, if you encounter issues, you might want to change cgroup_memory=1 to cgroup_enable=memory. For now, however, cgroup_memory=1 is working. More on this can be found here.
Run the script,
$ sh init.shReboot the machine and SSH back into the Raspberry Pi once the reboot has finished.
$ sudo rebootThat was all the prerequisites and generic setup of all the Raspberry Pis. Remember to repeat this process for every node in the cluster.
Now, let’s move on to setting up our Kubernetes master.
Initialize the Kubernetes master
So, we are now ready to set up Kubernetes. To do this, we are going to use the awesome tool called, kubeadm. This makes it pretty easier to spin up a Kubernetes cluster by, basically, running kubeadm init on the master node and kubeadm join on the worker nodes.
One of the purposes of this cluster is going to be demoing Kubernetes stuff. One example could be to pull out the network cable of one of the worker nodes and demoing how Kubernetes deals with this situation by rescheduling the pods from the lost node.
Therefore, we would like to change one of the arguments to the kube-controller-manager, namely, pod-eviction-timeout which defaults to 5 minutes. That’s a long time to wait in a presentation. Instead, we want to change this to 10s.
Changing arguments passed to the different Kubernetes core components by kubeadm is pretty simple. We just have to pass a YAML configuration file specifying the arguments we want to change. Let’s do that.
Create the configuration file:
$ nano kubeadm_conf.yamlCopy and insert the following
apiVersion: kubeadm.k8s.io/v1alpha1
kind: MasterConfiguration
controllerManagerExtraArgs:
  pod-eviction-timeout: 10s
You may wish to change the time that Kubernetes allows the node to be unresponsive as well. It defaults to 40 seconds. To change this, add the following argument to the master configuration above: node-monitor-grace-period: 10s.
Save and run
$ sudo kubeadm init --config kubeadm_conf.yamlThis takes a couple of minutes. Once the process finishes you should see something similar to:
...Your Kubernetes master has initialized successfully!To start using your cluster, you need to run the following as a regular user: mkdir -p $HOME/.kube
sudo cp -i /etc/kubernetes/admin.conf $HOME/.kube/config
sudo chown $(id -u):$(id -g) $HOME/.kube/configYou should now deploy a pod network to the cluster.
Run "kubectl apply -f [podnetwork].yaml" with one of the options listed at:
https://kubernetes.io/docs/concepts/cluster-administration/addons/You can now join any number of machines by running the following on each node
as root:kubeadm join --token TOKEN 192.168.1.100:6443 --discovery-token-ca-cert-hash HASHFollow the instructions in the output:
$ mkdir -p $HOME/.kube
$ sudo cp -i /etc/kubernetes/admin.conf $HOME/.kube/config
$ sudo chown $(id -u):$(id -g) $HOME/.kube/config
You can verify that your master node is up and running.
pi@master:~ $ kubectl get nodes
NAME      STATUS     ROLES     AGE       VERSION
master    NotReady   master    3m        v1.9.0
Don’t mind the status being NotReady. In order for the master node to become ready we need to install a container network. But before we do that, let’s add some more nodes to the cluster first.
Setting up the worker nodes
Alright, next up we need to spin up some workers for the cluster to be complete.
Assuming you have already set up the prerequisuites mentioned above, we basically only need to run the kubeadm join on each of your worker nodes. As shown above, kubeadm outputs the command that you need to run on all your worker nodes.
$ sudo kubeadm join --token TOKEN 192.168.1.100:6443 --discovery-token-ca-cert-hash HASHRepeat for every node.
Set up the container network
Nodes are not able to communicate without a container network, which is something you have to provide. Therefore, the final piece of the puzzle is to add one. We will be using weave-net for this. On the master node, run the following command:
$ kubectl apply -f https://git.io/weave-kube-1.6All set and done…
That was it. You should now have a fully functioning Raspberry Pi Kubernetes cluster. Verify your setup by running
pi@master:~ $ kubectl get nodes
NAME        STATUS    ROLES     AGE       VERSION
master      Ready     master    55m       v1.9.0
worker-01   Ready     <none>    34m       v1.9.0
worker-02   Ready     <none>    14m       v1.9.0
worker-03   Ready     <none>    5m        v1.9.0
Last thing we need to verify is that the configuration of the controller-manager we specified earlier. Did the pod-eviction-timeout get parsed to the actual kube-controller-manager process? This is easy to test, just run
$ kubectl describe pod kube-controller-manager-master -n kube-systemYou should see something similar to this
...
...
Containers:
  kube-controller-manager:
    Container ID:  docker://f9f4077d9008690f04169932c02fba79c8d446b71a347f75c2f6aa96f36587ca
    Image:         gcr.io/google_containers/kube-controller-manager-arm:v1.9.0
    Image ID:      docker-pullable://gcr.io/google_containers/kube-controller-manager-arm@sha256:167a5468244114c484856bfe995cc3630678f0ab2aa85cf9d1ab6341fd04b8e5
    Port:          <none>
    Command:
      kube-controller-manager
      --pod-eviction-timeout=10s
      --kubeconfig=/etc/kubernetes/controller-manager.conf
      --service-account-private-key-file=/etc/kubernetes/pki/sa.key
      --cluster-signing-cert-file=/etc/kubernetes/pki/ca.crt
      --cluster-signing-key-file=/etc/kubernetes/pki/ca.key
      --address=127.0.0.1
      --leader-elect=true
      --use-service-account-credentials=true
      --controllers=*,bootstrapsigner,tokencleaner
      --root-ca-file=/etc/kubernetes/pki/ca.crt
    State:          Running
      Started:      Wed, 20 Dec 2017 18:52:13 +0000
    Ready:          True
    Restart Count:  0
...
...
As you can see the parameter was passed correctly to the kube-controller-manager.
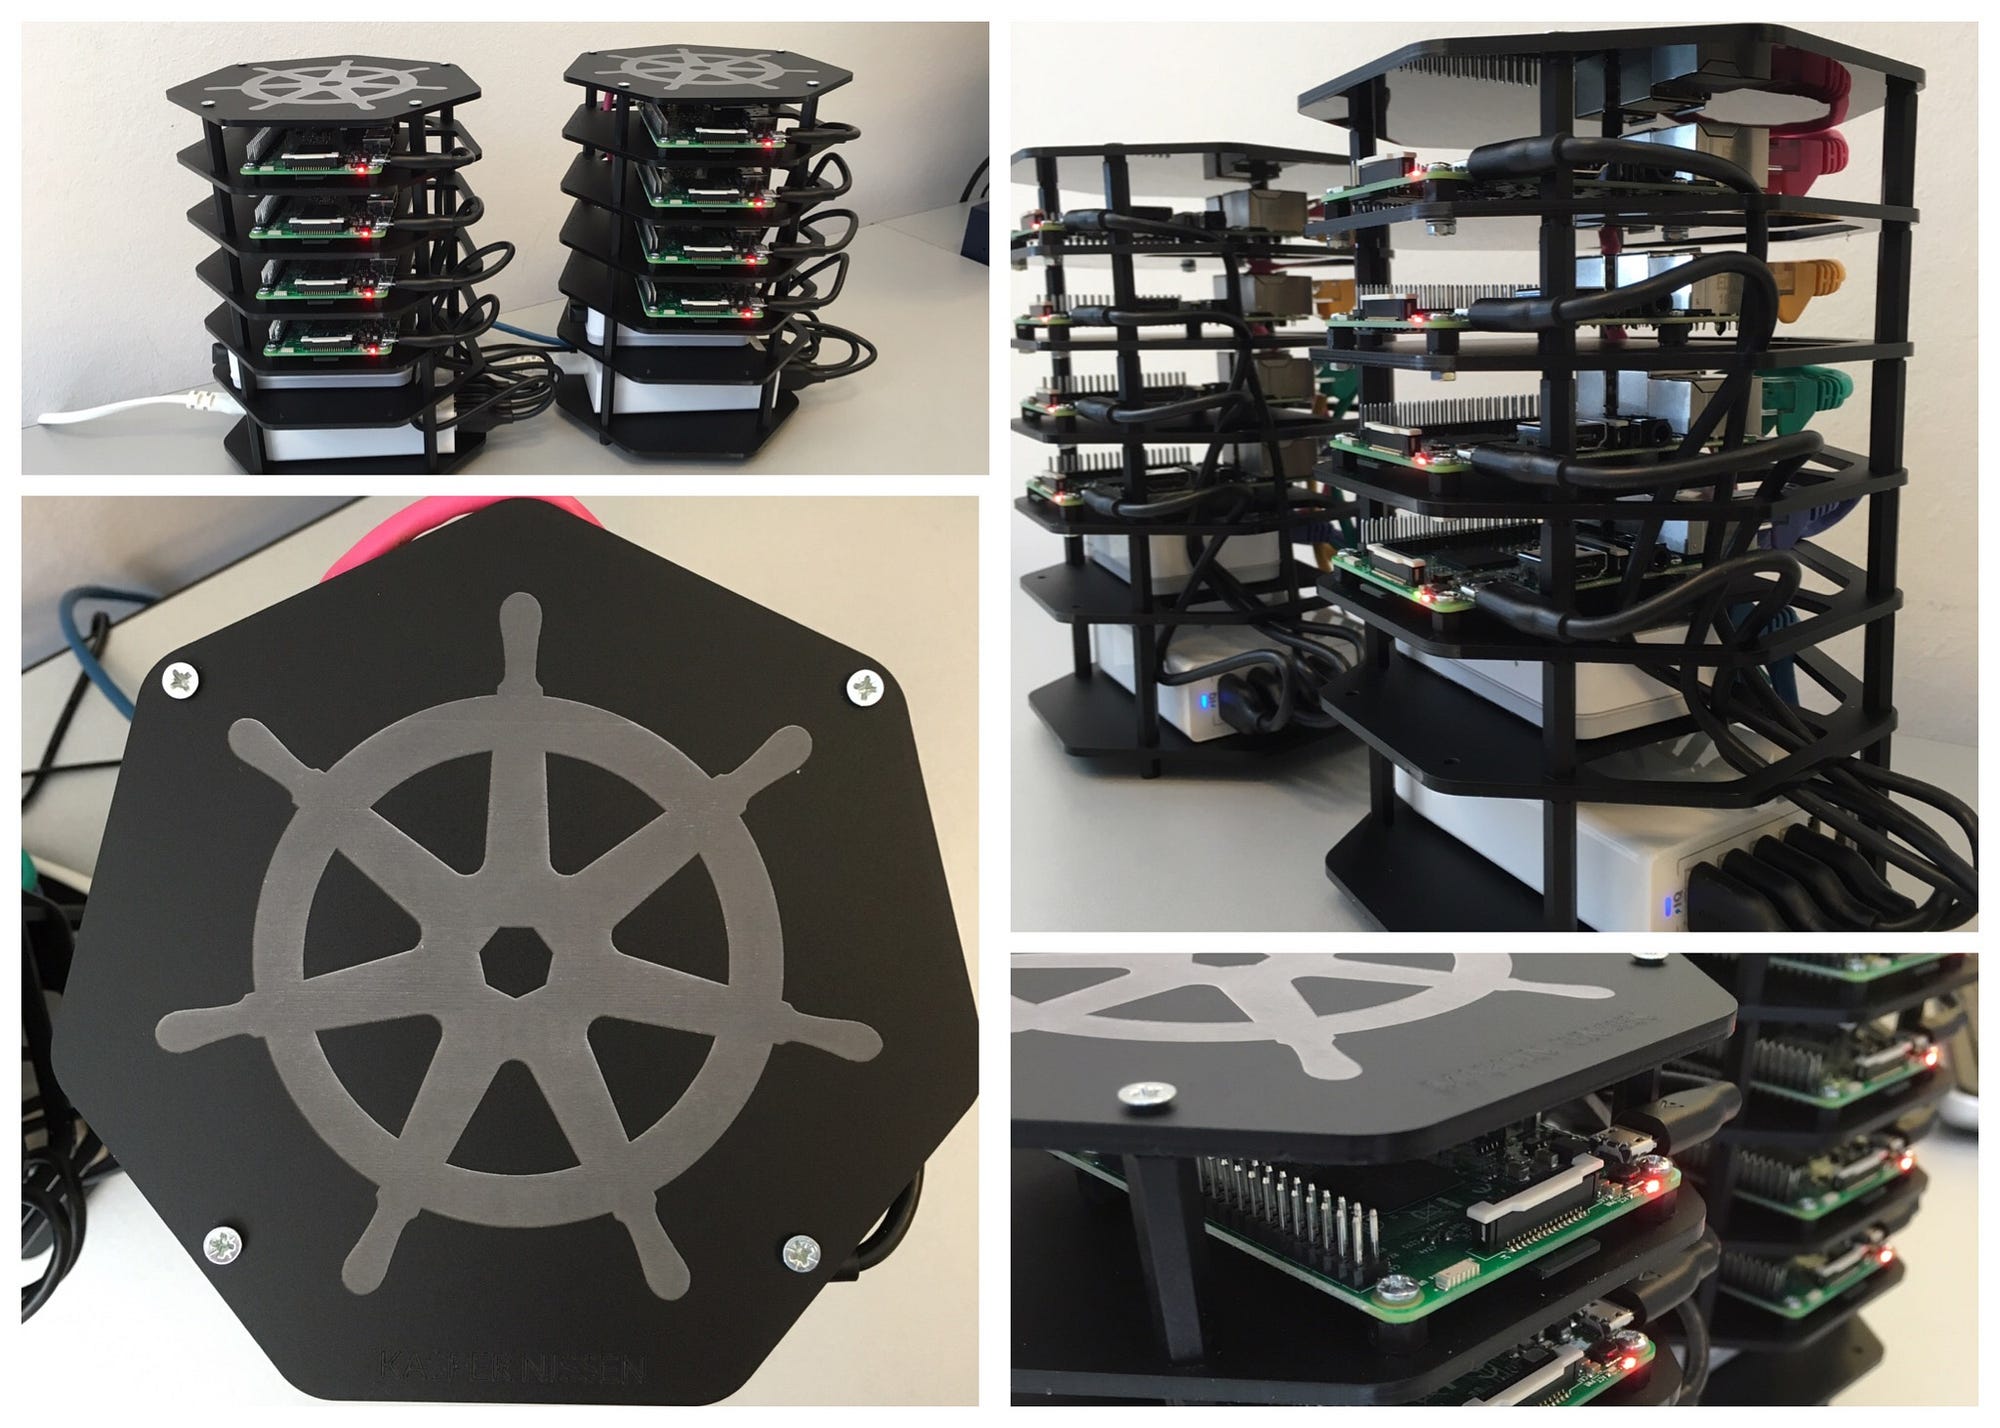
That was all for this time folks. Happy hacking.
Setup a Kubernetes 1.9.0 Raspberry Pi cluster on Raspbian using Kubeadm was originally published in kubecloud on Medium, where people are continuing the conversation by highlighting and responding to this story.
↗ Originally published on Medium — read it there.